If you love coffee as much as we do and enjoy great coffee, you might need or maybe even want to know about the fascinating roasting process that influences the taste, aroma, and quality of a cup of coffee. Whether you like a light, medium, or dark roast, roasting your own coffee means you can customize the roast level to your liking, save money, and learn more about your favorite drink. Plus, it’s a fun and creative process that gives you greater control over the quality and variety of the beans you use. So, why wait? Start your own roasting journey today and enjoy the fruit of your labor.
Why roast coffee beans at home?
If you want to make everything by yourself, roasting coffee at home is like baking your own bread and making your own brew. It’s a natural step to go from brewing your own coffee to roasting it. It’s fresher, tastier, and gives you more control over the final product.
You can also get freshly roasted coffee whenever you want. Freshly roasted coffee beans have a more vibrant flavor and aroma, as pre-roasted beans start to lose their flavor after a while.
Plus, all of us have slightly different taste preferences. Whether you prefer a light, fruity flavor or a dark bold one, even your favorite roaster might not always meet your expectations. So, roasting your own coffee allows you to control the roast level to suit your personal preference.
Over time, roasting your own beans can be more fun and cost-effective than buying premium roasted coffee from a local store that may have been sitting for a month or two. Home roasting can elevate your coffee-drinking experience from ordinary to extraordinary within a moment.
A step-by-step guide to roasting great coffee
The whole journey begins with raw green coffee, but these green beans taste nothing like the familiar coffee flavors that we all enjoy. Initially, when you roast them, you will get more and more of what we call a generic roast taste.

1) Choosing green beans
By sourcing your own beans, you can ensure the quality of the coffee you drink. To get the best quality and flavor, look for beans that are fresh and learn more about the different types of green beans available, their origin, and their flavor profile. As green beans have a longer shelf life than roasted beans, you can experiment with various beans to discover your favorite without worrying about the beans going stale.
2) Understanding Different Stages of Roasting
The Drying Stage:
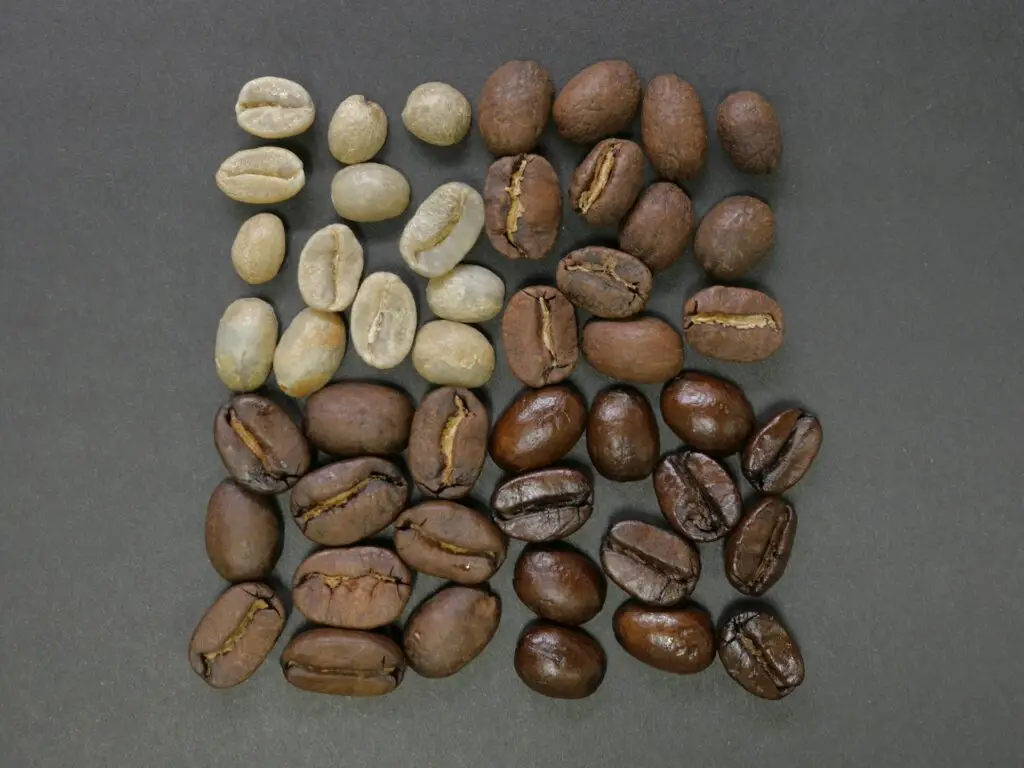
Initially, the process doesn’t involve much activity. You’ll see the green beans remain green for a while, but as the temperature continues to go up, the moisture inside the beans begins to dry out, and they tend to go from a green to a pale yellow phase during this phase. This is important because it shows how much heat the beans are absorbing, and you can adjust your roast based on mass and water.
The browning stage:
This is the most important stage, as the beans are transitioning from the drying stage to the development phase. Once that coffee has dried out, you’ll see the color change from a yellowish hue to a light brown and then to a darker brown. During this phase, you’ll get more of the natural flavors, acidity, and brightness from the coffee beans.
First Crack:
One of the key moments in the roasting process is called the first crack. As the beans heat up, all of that water that hasn’t escaped turns to steam, building up pressure until the beans expand and create an audible cracking sound. You can literally see those cracks, and even more interestingly, it sounds a little bit like popcorn. From this point on, those color changes are relatively minor, but the flavor changes happening now are actually quite significant. But at this point, everything is drinkable and good.
Second crack:
As the roast progresses towards the dark roast, an additional gas release occurs, known as the second crack. At this point, you can probably take the coffee out and drink it, depending on your vision as a roaster, or you may roast it a little bit longer. If you keep roasting, you’ll generate more and more bold flavors with increased bitterness and decreased acidity.
Storage and Cooling:
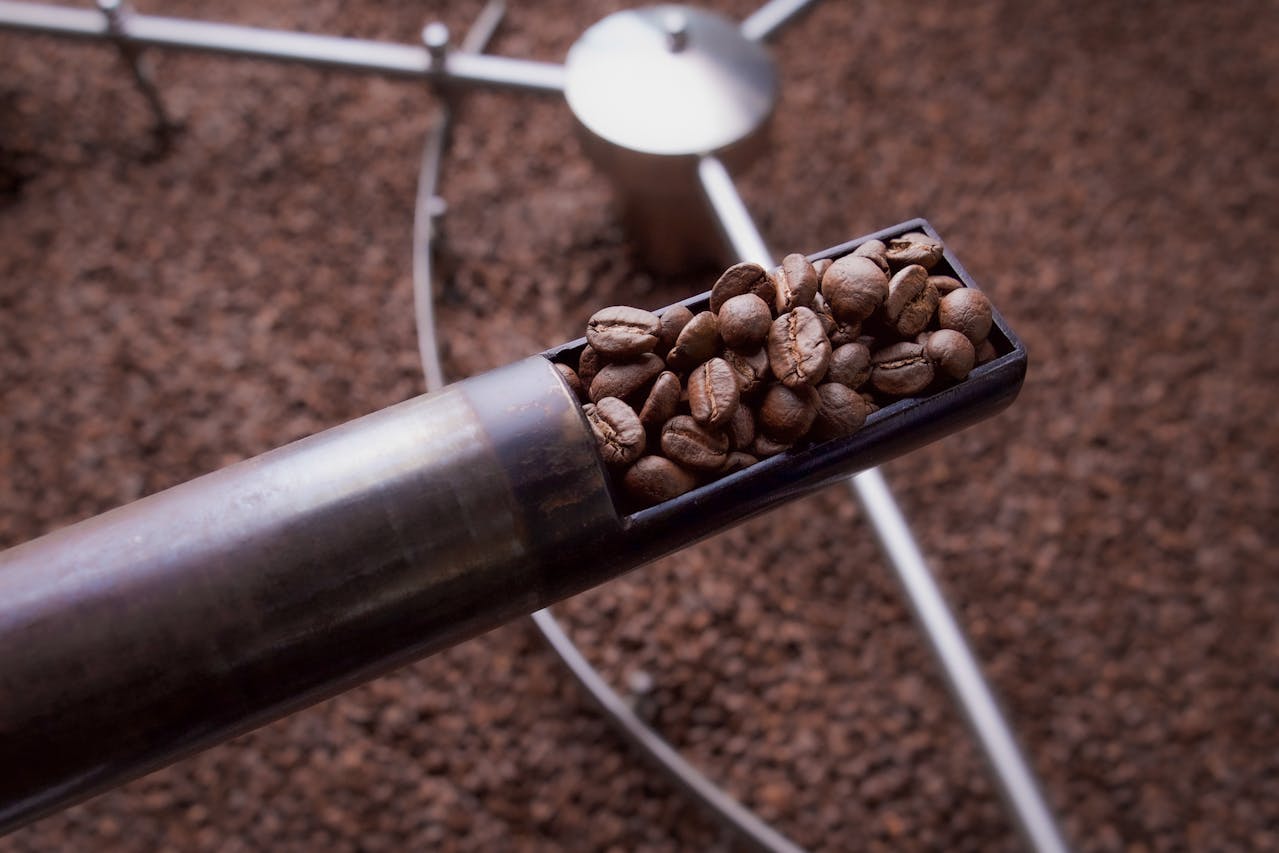
After roasting coffee beans, proper storage and cooling are critical to maintaining the beans’ freshness and flavor profile. When the coffee leaves the roasting machine, it’s often in excess of 200 degrees Celsius and needs to be cooled down as quickly as possible. The most common method involves using a cooling tray equipped with a fan to quickly bring down the beans’ temperature. After cooling, it’s best to store coffee beans in an airtight container in a dark, cool place to avoid direct sunlight. You can also store it after grinding.
How to start roasting at home?
Once you’ve got green beans, you can really start right away in your kitchen with no extra cost. Start by getting some fresh coffee beans and choosing a simple roasting method. A stovetop or a popcorn machine can be a great way to get started roasting without breaking the bank. As you gain experience, you might want to invest in a dedicated coffee roaster for more control and consistency.

Roasting on a stovetop
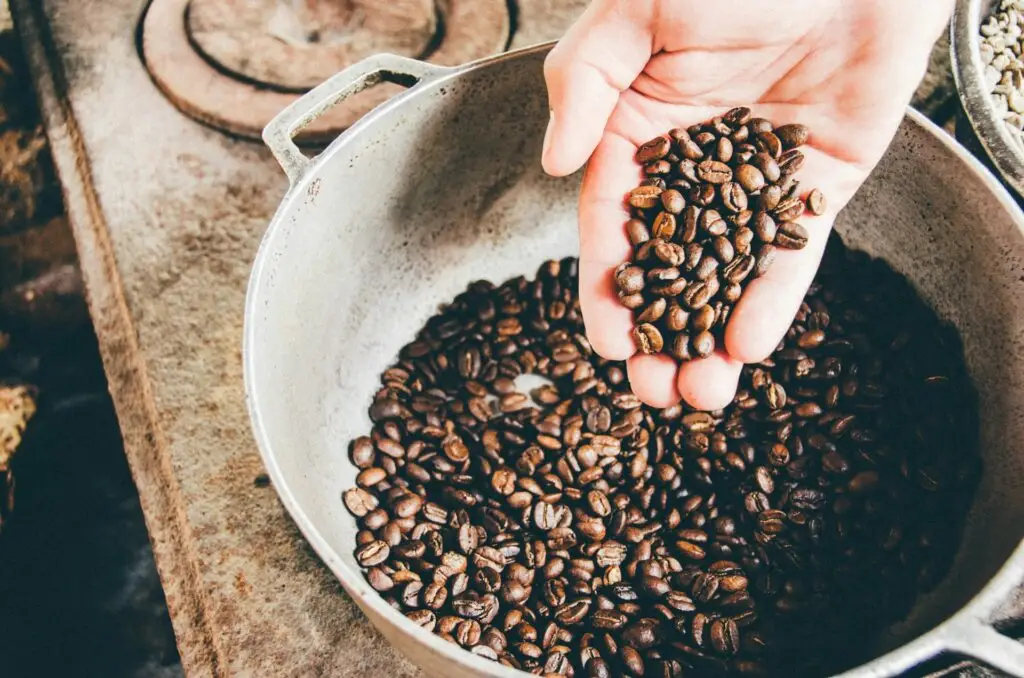
Roasting coffee on a stovetop can be a great way for you to start roasting at home. All you need is some green beans, a heavy-bottomed skillet or pan, a wooden spoon or spatula, and a heat source.
1) Preheat the pan:
Now, place the skillet on the stovetop and heat it for a few minutes before adding the green beans. After adding ¾ of a cup of beans, continuously stir the beans with a wooden spoon or spatula to ensure even heating and prevent scorching.
2) Start Roasting:
The beans will take approximately 12 to 15 minutes to roast at the right temperature in a pan or skillet. Within 9 minutes, you’ll hear a light popping noise indicating a light to medium roast. Depending on how you like your coffee to taste, it may roast a little longer. However, as you continue to roast, you will get closer to the darker roast, resulting in a more bitter taste.
3) Cool the beans and store them properly:
Once the beans reach the desired roast level, quickly transfer them to a metal colander and whisk them to cool, as well as remove the remaining excess chaff. Transfer the cooled beans to a zip-top bag to remove excess air, which is known as degassing. During this process, the beans will emit carbon dioxide after roasting, and you need to wait at least 24 hours before grinding and brewing fresh exotic coffee.
Roasting in a popcorn machine
Using a popcorn machine is an efficient and relatively accessible way to enjoy freshly roasted coffee at home. But if you’re roasting coffee indoors, make sure to crack open the window or door because sometimes the poppers create a lot of smoke.
1) Preheat the popcorn popper:
Turn on the popcorn popper and let it preheat for about 30 seconds. Carefully pour the measured amount of green coffee bean (½ cup) into the popcorn chamber. Pay attention as the beans go through several stages.
2) Roasting the green bean:
The beans will start to move around, and gradually the color will change. After 2 minutes of reaching the light roast, the beans will make a popping sound, similar to popcorn. But you can continue roasting for a darker roast until you hear a second crack.
3) Cooling and Storing:
Once the beans reach your desired roast level, quickly turn off the popper and cool them down. After they have cooled down, store them in an airtight container away from light and heat.
Now that you understand the process of roasting your own coffee and how to begin, you can find roasting coffee to be both enjoyable and rewarding. You will consistently have fresh coffee on your shelf, or it may disappoint you initially. Your first few batches might not be perfect, but trust me, you will get better with time. Experiment with different roasting methods and levels to find your preferred roast and unlock a world full of delicious opportunities.


Pingback: How to make iced coffee at home – Explore the World of Coffee
Pingback: How Long Do Coffee Beans Last? Explained All Kinds!
Pingback: 79 Best Coffee Pick Up Lines for Coffee Lovers